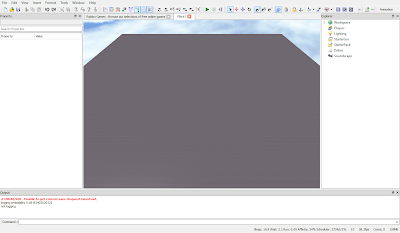
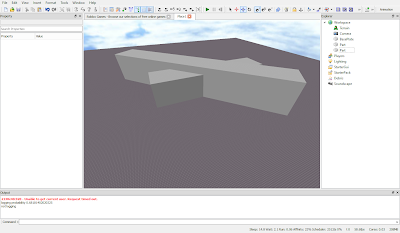
Firstly, you should open up Roblox Studio 2013 and then click on File then New, otherwise you could open up a place you're already working on. This is what it should look like. (Not everything look like the same as you may have certain tabs hidden and/or in a different position.

Now you will see on the top bar of your tools something that looks like 2 squares going into each other like this.
This tool is called collision check. When this is enabled (When it is highlighted in blue) whenever you move, rotate, and resize a brick into another brick it stops that brick from going through it. Now if you were to turn off collision check then the brick would go through it like this.

Now you're set and ready to start cframing!

No comments:
Post a Comment